
Count contribution, not revenue
Selling price − material − selling fees − variable labor is the money each order contributes toward fixed costs and profit.
LEARN / MAKER BUSINESS PLAYBOOK
Practical guides for choosing a product, setting a price, selecting a making path, and knowing when equipment will actually pay back.
THE BUSINESS SIDE OF MAKING
Bilingual guides. USD examples. Real costs before your next investment.
Build a U.S. laser engraving startup budget with a $5,500 worked example, operating break-even, and equipment payback scenarios in USD.
Read the guide
Price a laser-engraved tumbler for U.S. Etsy sales: a $32 example with listing fees, payment processing, labor, shipping, and contribution.
Read the guide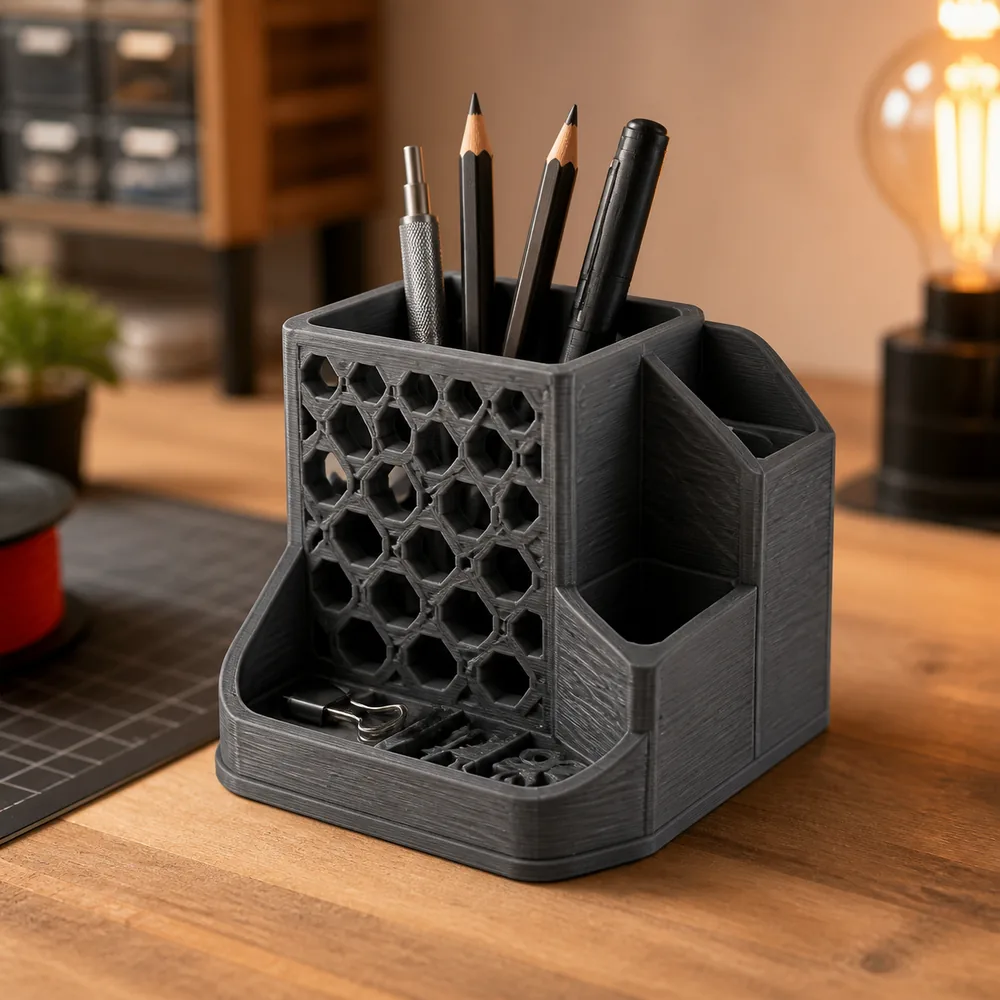
Price 3D prints beyond filament: a USD worked example including machine wear, electricity, failed prints, labor, fees, and target contribution.
Read the guide
Price acrylic wedding signs for U.S. Etsy orders with a $59.99 cost audit, a $95 target-price model, current Etsy fees, labor, packaging, and ad scenarios.
Read the guide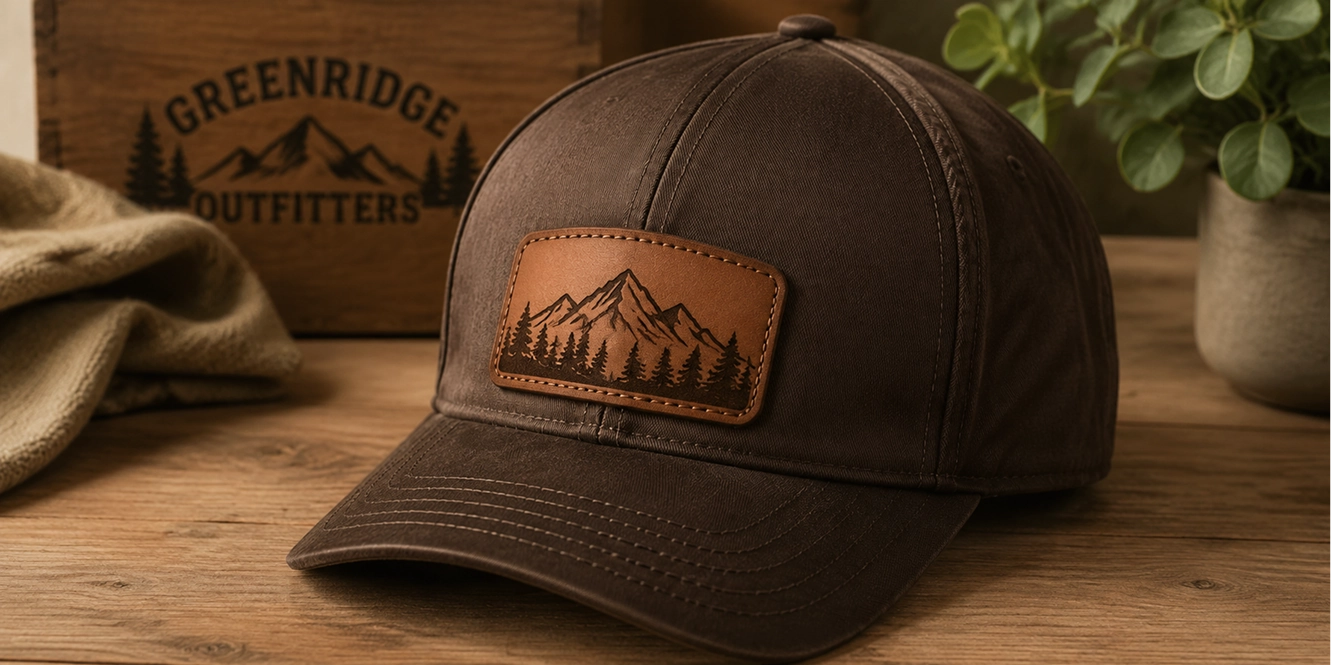
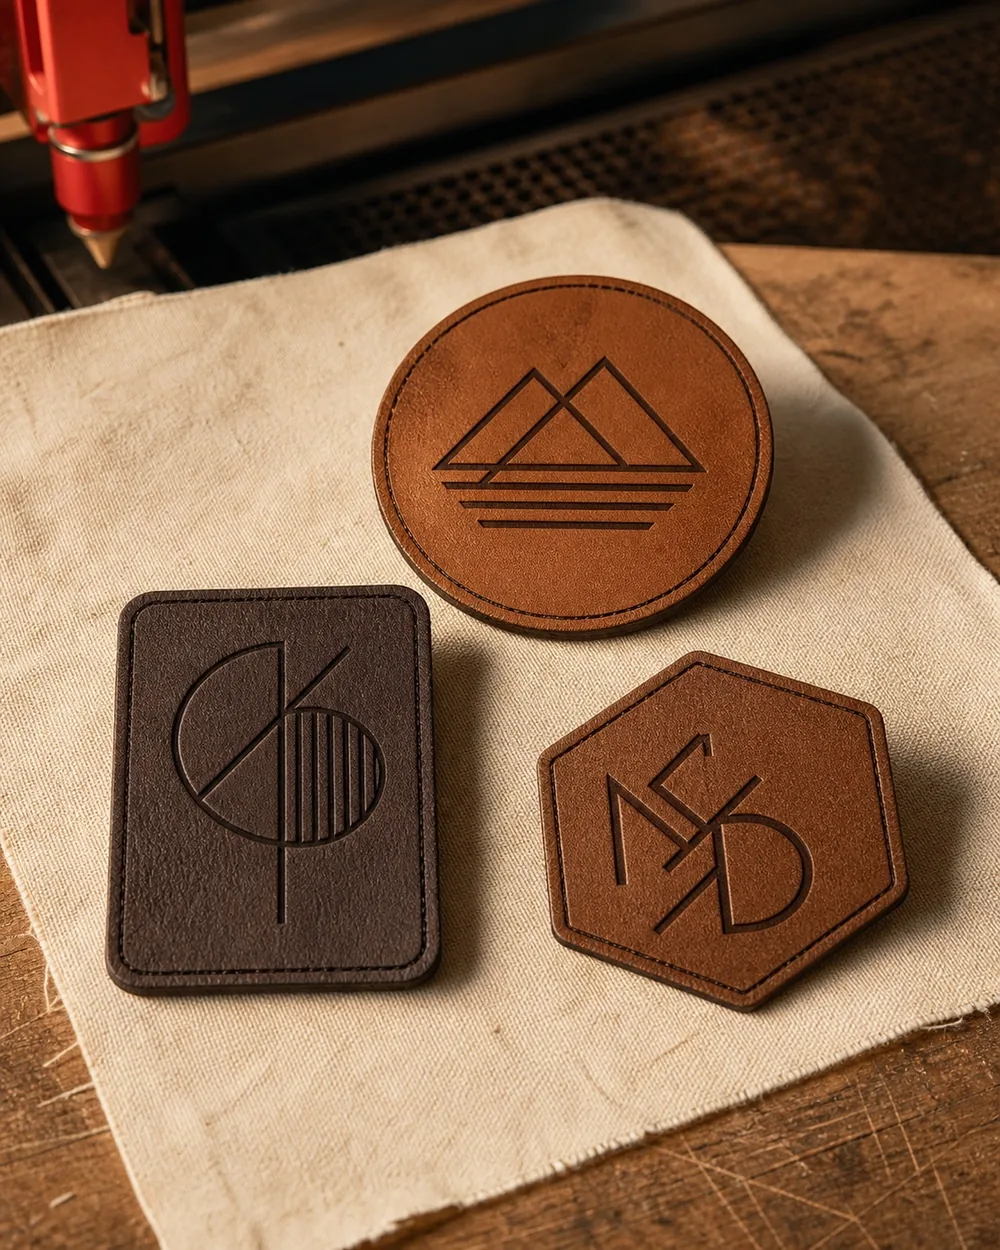
Price custom laser-engraved leather patches with a 12-piece U.S. batch example covering yield loss, setup labor, per-piece work, packaging, and fees.
Read the guideTHREE RULES FIRST
Selling price − material − selling fees − variable labor is the money each order contributes toward fixed costs and profit.
Ten paid orders teach you more than a hundred likes. Validate the buyer and price before upgrading equipment.
Track hands-on minutes separately from machine time. Your bottleneck—not the machine brochure—decides capacity.
FIELD GUIDE
Build a price and profit model before you scale the product.
Use monthly operating profit: paid orders × contribution per order − monthly fixed costs. A $32 tumbler with $8.20 material starts with $23.80 gross profit before fees, labor, failed pieces, and marketing.
Set a floor from every variable cost, then test three customer-facing prices. Personalization, faster delivery, premium materials, and bundles should each have a visible price—not be given away inside one base price.
Choose a standard blank or repeatable file, one obvious buyer, a result that photographs well, and a production cycle you can repeat. Your first product is a learning vehicle, not your forever catalog.
FIELD GUIDE
Let the product and order pattern choose the process—not the other way around.
Laser is strong for fast personalization and flat-part cutting; 3D printing wins when geometry or function creates the value; heat press is a lower-entry path for apparel, totes, teams, and event graphics.
For drinkware and fast engraving, prioritize rotary workflow and cycle time. For acrylic and wood products, prioritize material compatibility, work area, extraction, and repeatable positioning before headline wattage.
A reliable press, a repeatable transfer source, and a small set of proven blanks matter more than a huge catalog. Start with totes or one garment shape, document temperature, pressure, time, and wash results.
FIELD GUIDE
Scale the repeatable system first; buy capacity only when the numbers prove the bottleneck.
Standardize files, blank placement, settings, naming, and inspection. Photograph the approved setup and keep a one-page job card so the next batch begins from a known state.
Approve one golden sample, inspect at fixed intervals, isolate rejects immediately, and record the cause. Small batches with checkpoints are safer than one long unattended run.
Upgrade when proven demand is being delayed by one measured bottleneck and the additional monthly contribution can repay the equipment inside your acceptable window. Faster is valuable only when orders use that speed.